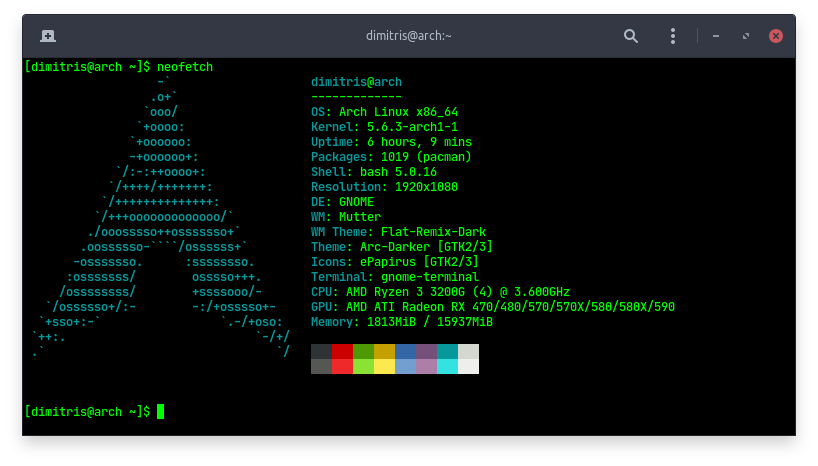
“BTW I use Arch!”
everyone 🙂
A phrase most Linux users surely came across while looking for help in forums. For the most part this is to signify or better yet brag to someone that your Linux-Fu is superior. Whilst true many years ago when Arch, Slackware and Gentoo were considered the pinnacle of Linux installation knowledge nowadays it’s almost a meme and makes you look like a douche!
Arch is still intimidating to a lot of Linux users. The lack of a graphical install wizard makes people think that is super hard to install. Arch, while not as straightforward as something like Ubuntu or PopOS, is still doable for the majority of Linux users that feel somewhat comfortable with the command line.
Also Arch has one of the best, if not the best, documentation of all Linux distro in the form of the amazing Arch Wiki.
There are also tons of videos on Youtube to guide you through the Arch installation process. However I found those videos cumbersome as most times the presenter keeps on rumbling and you have to constantly pause the video just to follow along.
So in this post I will share my Arch installation notes that I use as reference to guide me through the process of a fresh Arch Linux install.

Disclaimer: This is not a complete step by step guide for installing Arch Linux. Many steps such as downloading and burning the boot iso were omitted. Also these notes were prepared for my systems. Please use these as reference or to better understand a certain area of the Arch install. Do not follow the notes exactly if you are new to the command line and do not know what the various commands do. As a rule of thumb for new Linux users you should never process commands in the terminal that you do not know what they are meant for.
You can download a PDF version of my notes here:
If this is your first time installing Arch Linux and you feel that you still need some time to experiment but don’t want to lose all the time you put into installing it, you can use Timeshift to backup your whole system. That way if you do end up messing something up, it is as easy as clicking restore and having your system revert to a known working configuration.


