“One is none, two is one!“
If you ever heard that expression before then you know what I’m talking about. We all had our share of lost data. Either due to a catastrophic hardware failure or just we simply accidentally deleted or forgot to save a file we really needed.

Better safe than sorry. If you spent a ton of time downloading and building your media collection it would be a disaster to lose everything.
When it comes to backing up data the most important rule to remember is the 1-2-3 rule:
“3 copies, on 2 separate mediums, at least 1 off site”
So in this post I will show you some of the available ways to backup your data.
Backup can be roughly classified in the following categories:
1. Backup to local storage
2. Backup online to cloud storage
3. Backup using free software
4. Backup using proprietary software
Although the above list is not exhaustive by any means, it categorizes the most common ways an average user has available to backup data.
1. Local Storage
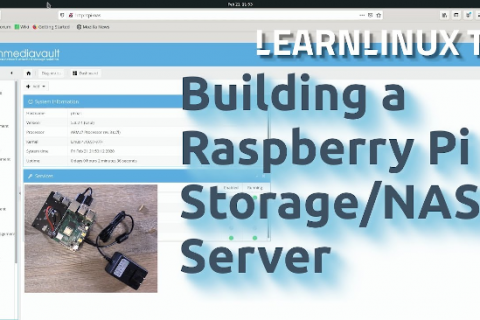
The quickest way to backup files is to plug an external hard drive or thumb drive into your computer and copy the files to it. You can also use CDs or DVDs, but these are more prone to loss and failure than an external drive. You will also need to burn the files to save them, whereas with an external drive you simply drag and drop. If you are connected to a network, you can also back up to a network drive on another computer or even better a Network Attached Storage (NAS).
Space is an issue when deciding what to manually back up, especially if you are using CDs, DVDs, or a thumb drive. If you have a large enough external drive, space is less of a problem. So it’s crucial to decide what you want to backup and prioritize your data.
Make sure that the most important data is always backed up. This includes important and sensitive documents, sentimental files and photos, and other irreplaceable data. Copying takes time, so make the most of your time by saving only what matters. Programs cannot be backed up, and will need to be reinstalled should anything go wrong with your system. So don’t try to transfer anything from the “Program Files” folder to your backup as it will not work when you restore these folders.
Once you’ve decided what you want to save, start copying it over to your backup media. If using an external drive, thumb drive, or network drive, simply drag and drop the data onto the drive and wait for it to copy.
Tip: Remember to update your backup. Since you are manually backing up, there is no set schedule for when your data is copied. It will be on you to maintain a regular backup schedule in order to keep your data safe.
2. Online & Cloud Storage
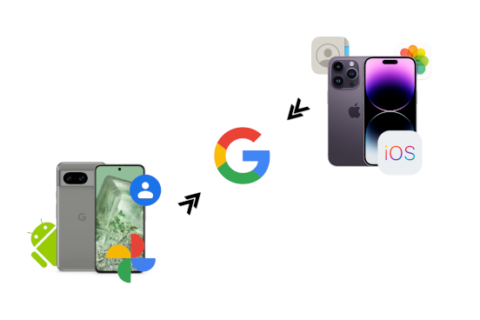
There are several free cloud services available that you can use as an always online backup location for your files. These include Google Drive, Microsoft OneDrive, Apple iCloud, DropBox, and more. These services all come with a fair amount of space for free, and can be upgraded with more space for a fee.
They are also very simple to use. Dropbox is the most common and well known cloud storage service. You just download the client from here and install it to your computer (available for Windows, OSX and Linux).Then you just create an account and use the account details to log in either online to access your file or to log in to other systems you have Dropbox running.
There are also mobile apps (Android/iOS/Windows) available for most of these services to give you access to your cloud storage from your mobile device (smartphone/tablet).
Dropbox like some other services such as OneDrive and Google Drive will give you a folder that shows on your computer. Anything added to this folder will be synced with your cloud storage. Manually add the files to your service much like you would to an external hard drive in (1) above. Same limitations as local storage apply, i.e.available space should be monitored and regular backup schedules should be made to follow the 1-2-3 rule.
3. Free Software Solutions
While the above 2 categories should provide solutions that are more than enough for the average user there are also additional available applications that provide some more advanced features.
I strongly recommend trying out an application called Syncthing. It’s a free software that combines the functionality of local storage and cloud services.
a) Syncthing
With Syncthing you can backup your data from one device to another in your home network or a remote machine without the need to use local storage or transfer your data through an intermediary service on the internet, as is the case with cloud storage.
You can get the Syncthing application for the platform of your choice from here.
Update: For a complete step by step tutorial on how to install and setup Syncthing on Windows 10 and Linux refer to this video post here.
i) Install the application to both the host device (the device which you have the files you wish to backup) and the target device (the device you wish to backup the files to).
ii) Once the installation is complete just fire up your browser. The admin GUI starts automatically and remains available on http://localhost:8384/
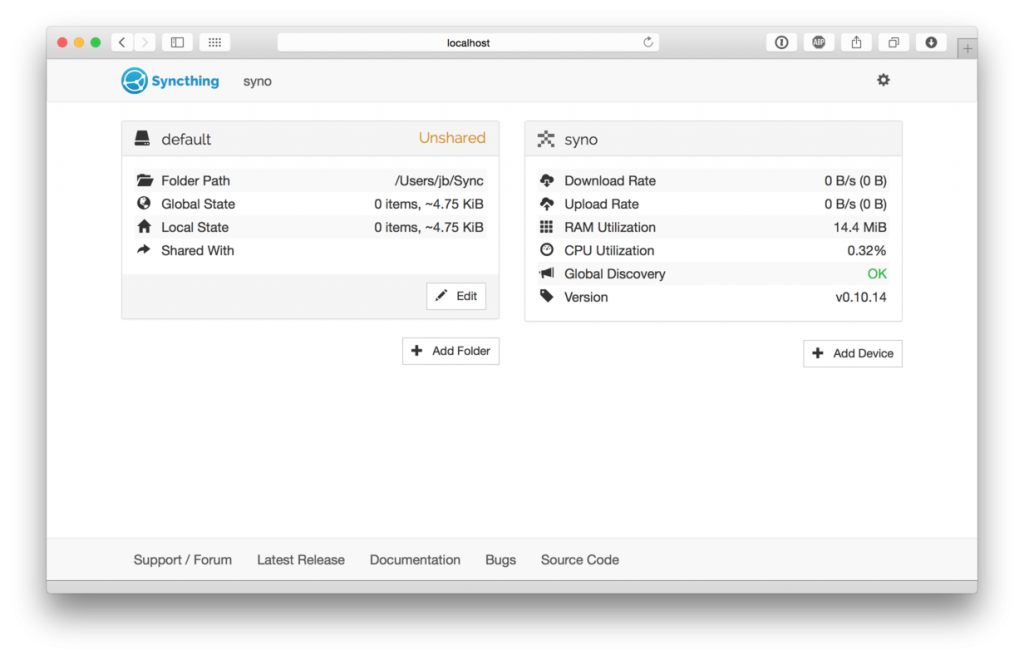
Now Syncthing is ready to be configured.
iii) On the left is the list of “folders”, or directories to synchronize. You can see the default folder was created for you, and it’s currently marked “Unshared” since it’s not yet shared with any other device. On the right is the list of devices. On first run there should only be one device: the device you are first running Syncthing on which has the files you want to backup.
For Syncthing to be able to synchronize files with another device, it must be told about that device. This is accomplished by exchanging “device IDs”. A device ID is a unique, cryptographically-secure identifier that is generated as part of the key generation the first time you start Syncthing. You can see your device’s ID in the web GUI by selecting the “gear menu” (top right) and “Show ID”.
Two devices will only connect and talk to each other if they are both configured with each other’s device ID. To get your two devices to talk to each other click “Add Device” at the bottom right on both, and enter the device ID of the other side. You should also select the folder(s) that you want to share. The device name is optional and can be changed later if required.
There is also an Android app available in the Play store if you want to backup files from/to your phone.
Now you’re ready to start syncing! Add files, videos, photos or any file you wish to copy to your folder. Whenever you make changes to your folder on one computer, you’ll see those changes on all your other connected devices. Just make sure that all devices that are set to sync are turned on and have enough free space to accommodate the synced files.
If you are anything like me and like to experiment with your computer then it’s safe to say that at some point you wish you could restore your computer to the state it was before you’ve done something you later regretted. The Windows built in restore functionality never worked well for me so I turned to an excellent open source alternative called Clonezilla.
b) Clonezilla
This application is a little more complex to the ones mentioned above. It requires some computer knowledge but if you read the instructions as you go you should be just fine.
Clonezilla is a partition and disk imaging/cloning program similar to True Image or Norton Ghost. It helps you to do system deployment, bare metal backup and recovery.
For simple backup it’s best to use Clonezilla Live. You can use Clonezilla Live to backup any hard drive as it supports most of the file systems used by Windows, OSX and Linux.
Clonezilla Live is a small bootable GNU/Linux distribution for x86/amd64 (x86-64) based computers. To install Clonezilla live, the basic steps are to download the pre-build Clonezilla Live then put it in a boot media (CD, USB flash drive or USB hard drive). Two types of files are available, iso and zip. The former one is for CD, the latter is for USB flash drives.
Then all you need to do is follow the excellent instructions on the Clonezilla website to guide you through the process. I find it easier to use the Disk to Image function of Clonezilla that enables you to copy your entire hard drive to an image file and save it on an external drive for safekeeping. Thus if everything goes wrong you just fire up Clonezilla and restore that file.
4. Proprietary Software Solutions
I will not go through all the paid backup software available as there are tons and I never used one myself. I’ve always found the free software mentioned above to be more than adequate for my backup needs.
However there are people out there that would like to have support from professionals in case something goes wrong. This is even more critical when dealing with mission critical data (i.e. business data).
A simple Google search is all you need to point you in the right direction and help you find the paid software depending on your needs.