In another post I recommended the Xiaomi Mi Box S as the best Android TV box you can buy on a budget. The recommendation was made with media consumption in mind and specifically IPTV, PLEX, Netflix and Youtube.
However, this is not everything this little box can do. Another great thing that you can do is to turn your TV into a Retro Gaming machine.
The Xiaomi Mi Box S runs Android TV. This means you have access to the Google Play store where you can install various games and emulators optimised for the big screen like you would do on your Android phone.
But if you don’t want to go hunting for various emulators for all the different games from all the different systems you want to play, and you want an all-in-one solution the answer is RetroArch.
For years RetroArch has been the go-to platform of choice for emulation connoisseurs on the PC. The all-in-one package designed to load up all your favorite consoles and games from one place is available for Android TV too, though it requires a bit of setup to get everything up and working.
What you will need
- Android Box (i.e. Xiaomi Mi Box S). You can also use a Raspberry Pi to set up a Retro Gaming machine. See RetroPie section below to find out more.
- Bluetooth Controller (while is possible for some games to be played using the remote the experience is not at all optimal).
- ROMs (Games for each of the emulated system you want to run).
- Computer and a USB Drive to transfer the ROM files.
Getting Started
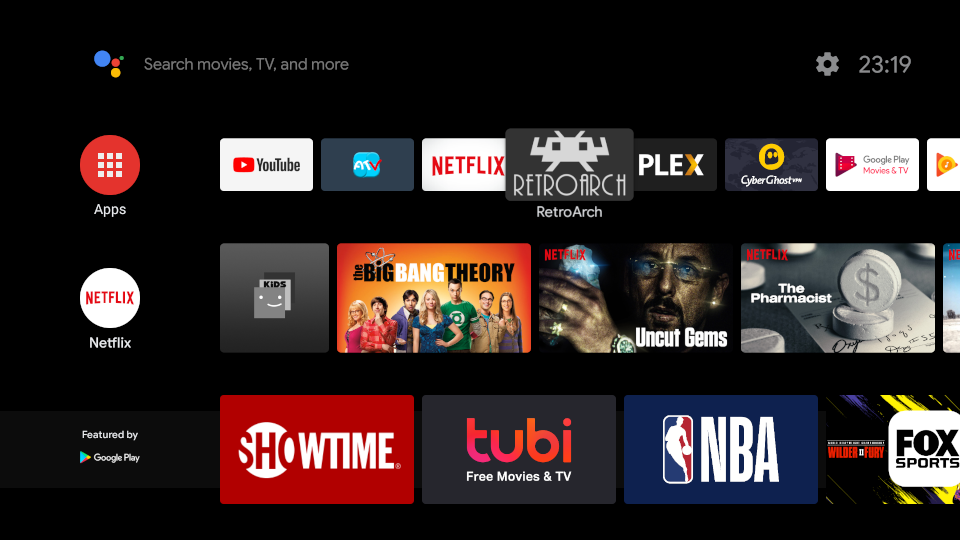
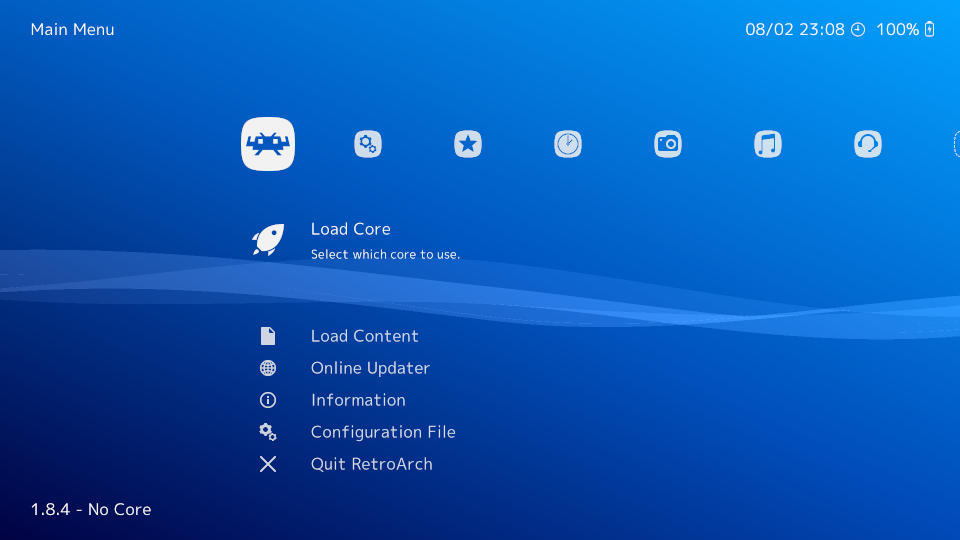
The first thing you need to do, of course, is install RetroArch from the Play Store. Once you’ve done that, open RetroArch and you’ll be presented with the main menu, which may mean absolutely nothing to you if you’re unfamiliar with RetroArch.
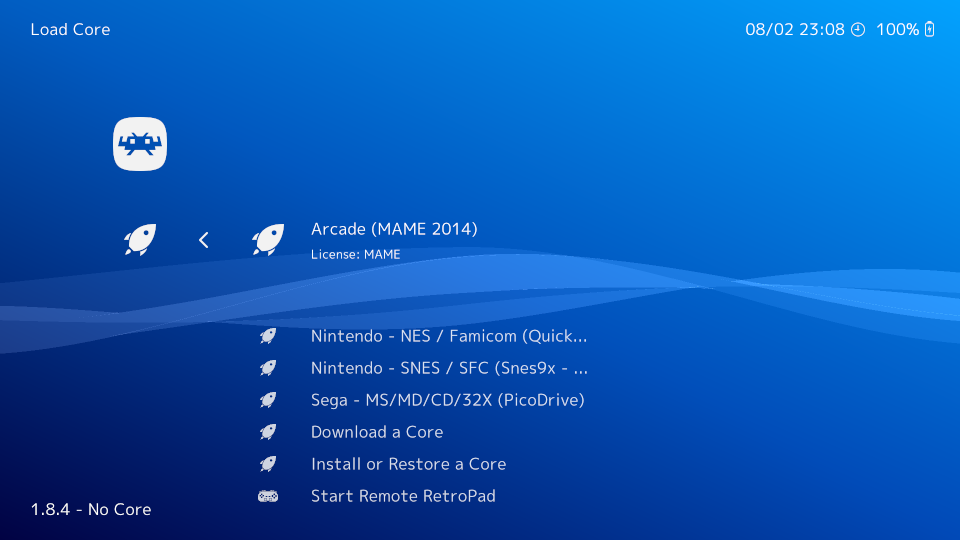
Then you need to get some cores downloaded to your device. These are console emulators which have been adapted to work as plugins through RetroArch and can be downloaded directly through the app. Just go to “Load Core -> Download Core” and select what you want from the list.
So which cores are best for which console? Below are some core picks for the most popular consoles, based on the broadest compatibility and best performance with the most games.
Best Cores in Retroarch
- Game Boy/Game Boy Color – Gambatte
- Game Boy Advance – mGBA
- Nintendo (NES) – (a) Mesen / (b) Nestopia
- Super Nintendo (SNES) – Snes9X
- Nintendo 64 – Mupen64Plus
- Sega Megadrive/Game Gear – Genesis Plus GX
- Arcade – MAME
The above list is just a recommendation and is by no means exhaustive. There are plenty of cores to choose from for a variety of systems not listed above so feel free to experiment and pick whatever you like and what works best for you.
Building your game library
This is where things start to get a little questionable. ROM files, as the game files for emulators are called, are not exactly legal. That’s why I am obligated to stress out that you should only download ROM files for games you already own for the console you wish to play. I know however that this is the Internet, and you probably won’t do as I say 😉 so you can visit this site for your ROM needs.
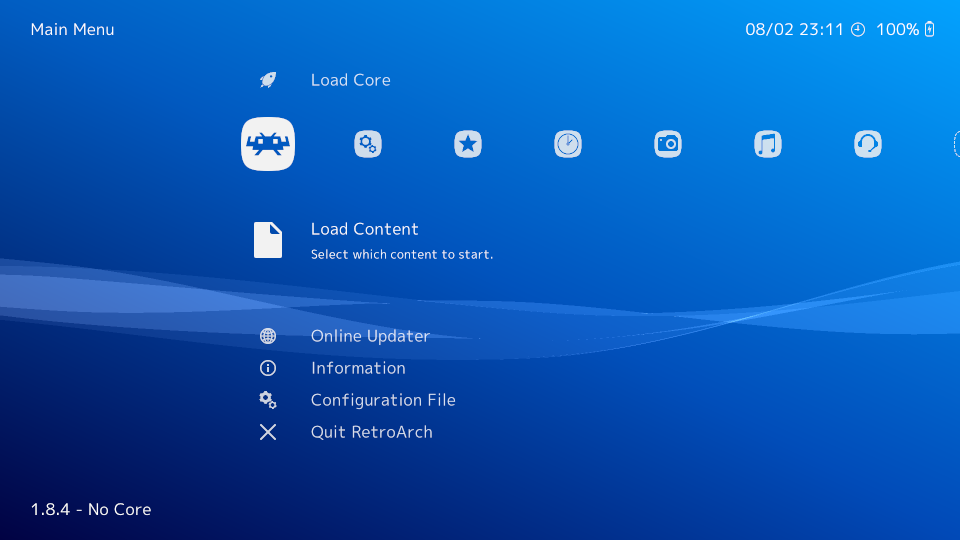
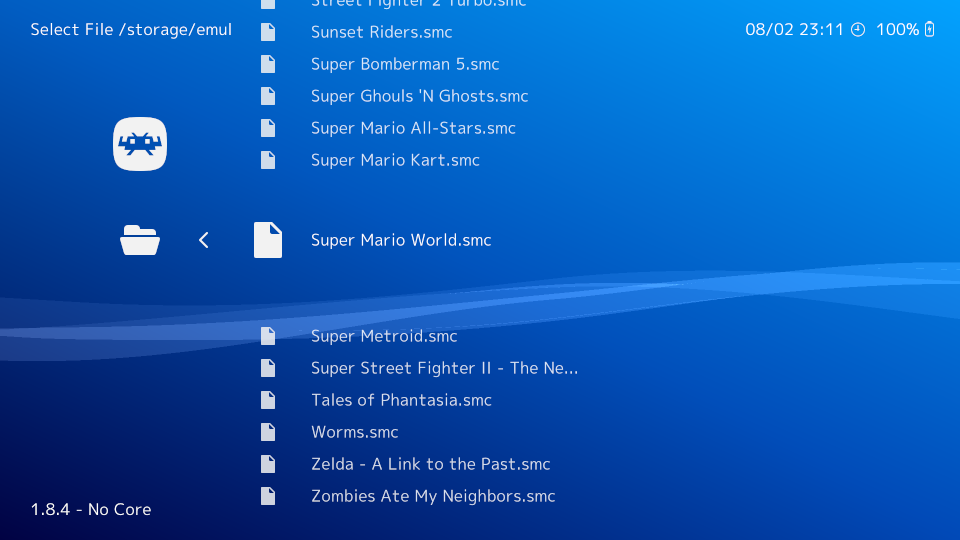
Once you have all your files downloaded to your PC you can use a USB drive to transfer them to your Android box. You can then either copy all the files on your Android box using a File Explorer app (I recommend File Commander) or you can load them directly from the USB drive by going to “Load Content,” then navigating to them from there.
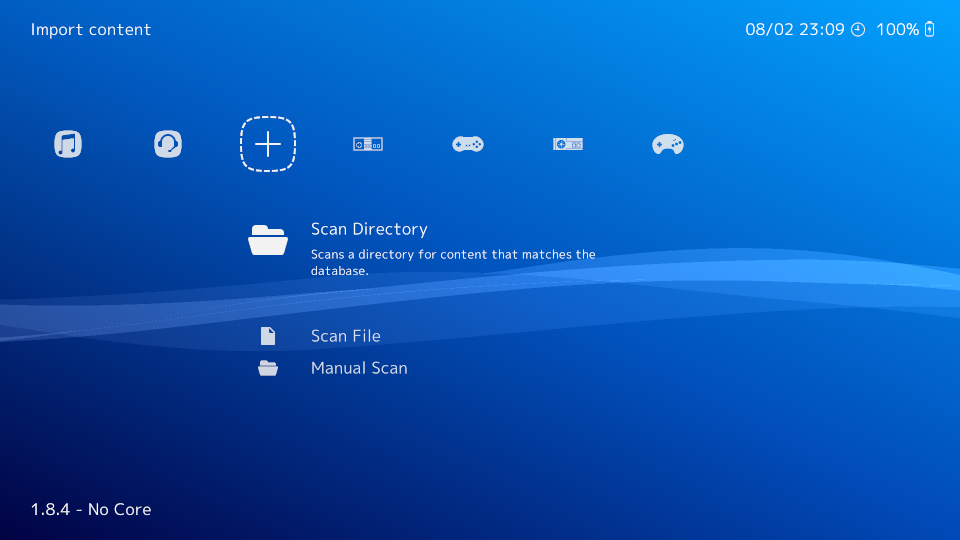
If you choose to copy them to the internal memory It is best to have a different directory for each console ROM files (i.e. SNES files, GB files, etc.) and you can have RetroArch build your library by using the Playlist functionality. To do this, tap the Playlists icon (middle option at the bottom of your RetroArch screen), then select “Scan Directory”.
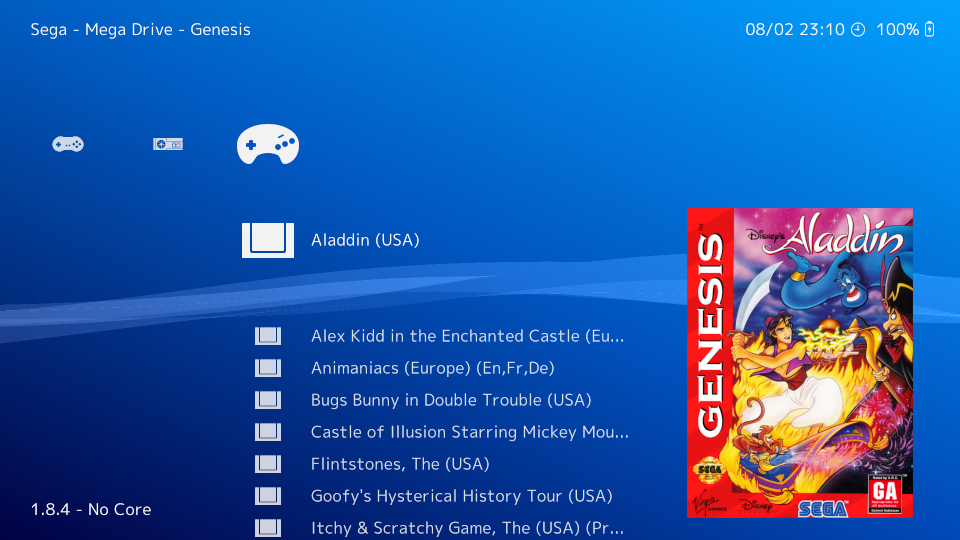
Select the directory where you keep your ROMs, then select “Scan This Directory.” The ROMs for each console will now be neatly contained in separate folders in the “Playlists menu.” You can select and run your games from here.
Setting up your controller
Before you run your games however you need to set up your controller.
You can use any Bluetooth enabled controller in RetroArch. If you own an Xbox One or a PS4 both of their controllers work great in Android. However, if you don’t own any of the aforementioned systems and you want something that will fit the Retro experience 8itdo makes great retro looking controllers.
The setup procedure is the same for all Bluetooth controllers on Android TV.
1) On your Android TV, go to the Home screen
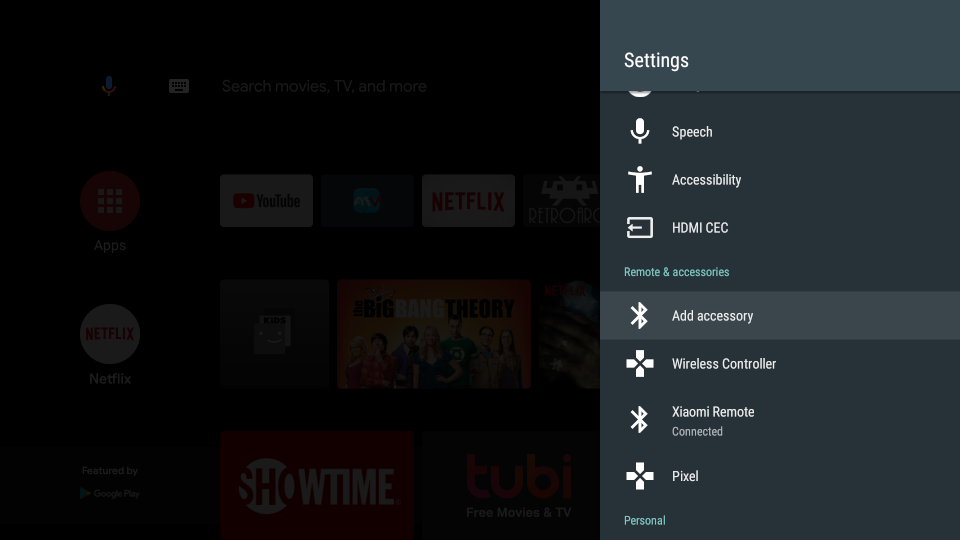
2) Select the gear icon on the top right of the screen to enter settings
3) Scroll down to “Remote and accessories,” and select “Add accessory”
4) On your TV or monitor, you’ll see a list of nearby devices
5) Put your controller in pairing mode (see the manual of your controller on how to do this as each controller is different). Your device will then pop-up to the list
6) Select your device and you should be good to go
RetroArch is shipped with a set of configuration files for the most common controllers and should pick up the controller automatically when you start the app without further setup.
So now all that’s left to do is fire up RetroArch and select the game you want to play. Happy gaming!
RetroPie
If you own a Raspberry Pi and don’t want to spend the extra money on an Android Box you can use RetroPie to transform your Raspberry Pi to a Retro Gaming powerhouse. The Raspberry Pi 4 with its beefed up specs is more than enough to handle emulation on a variety of systems.
You can follow the instructions included in the documentation of the RetroPie project here to set everything up. You can also refer to this video guide.